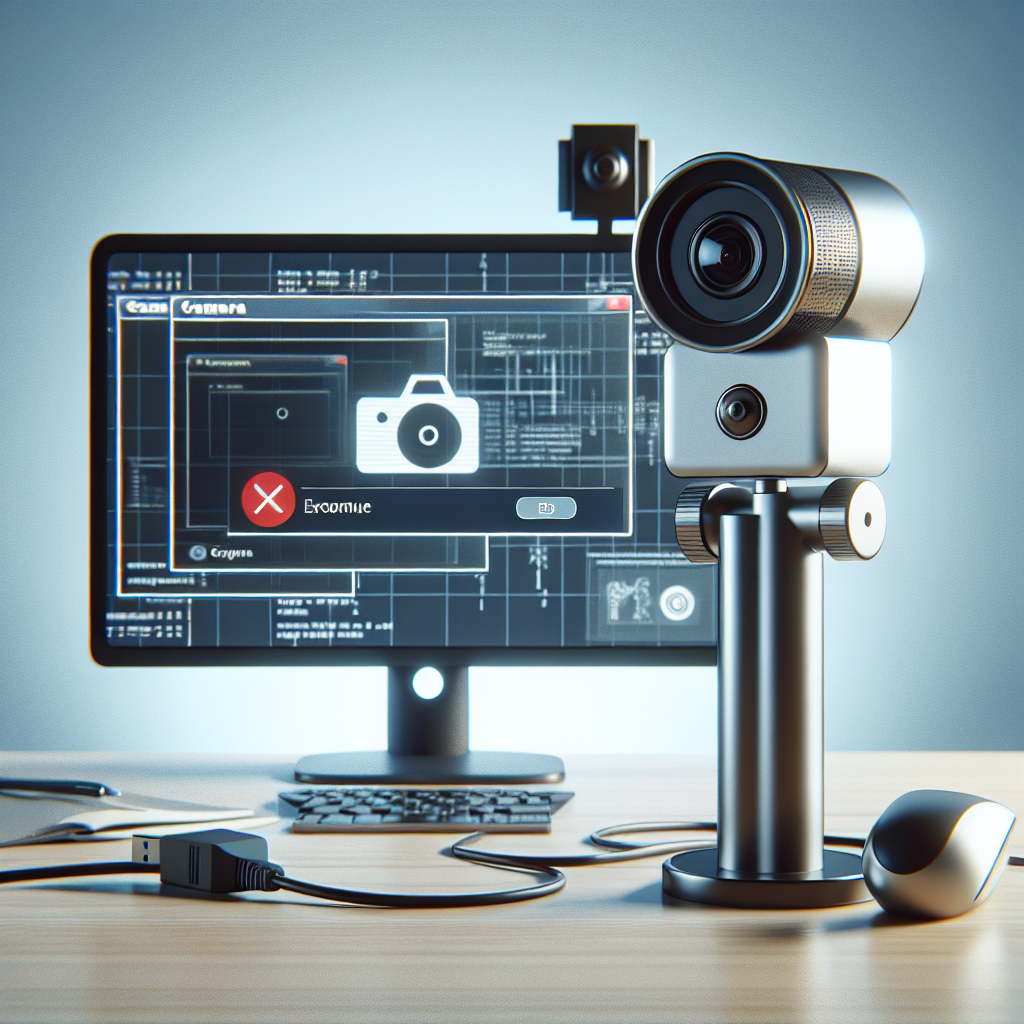
Compatibility issues with webcams can be a nuisance, especially when you need it for an important video call, online meeting, or recording session. Whether you’re using a built-in laptop camera or an external device, resolving these issues promptly is crucial. This guide covers various methods to identify and solve webcam compatibility issues efficiently.
Common Symptoms of Webcam Compatibility Issues
To resolve compatibility issues effectively, it’s essential to recognize the common symptoms. These include:
- The webcam not being detected by the operating system.
- Poor video quality or lag during video calls.
- Intermittent connectivity or frequent disconnections.
- Applications not recognizing the webcam.
Common Symptoms and Potential Causes
| Symptom | Potential Causes |
|---|---|
| Webcam not detected | Outdated drivers, loose connections, hardware issues |
| Poor video quality | Bandwidth limitations, low resolution settings |
| Intermittent connectivity | Faulty USB ports, unstable software |
| Applications not recognizing the webcam | Compatibility issues with the app, incorrect settings |
1. Check Webcam Connections and Hardware
The first step is to ensure that your webcam is correctly connected and functioning at the hardware level.
- For external webcams, ensure that the USB cable is securely connected to the correct port.
- Try connecting the webcam to a different USB port to rule out port issues.
- If you have a built-in webcam, ensure it’s enabled in the BIOS settings.
- Check for any physical damage or obstructions on the webcam lens.
2. Update Webcam Drivers
Outdated or corrupted drivers are common culprits behind webcam compatibility issues. Updating your drivers can resolve many problems.
Steps to Update Drivers:
- Open the Device Manager on your computer.
- Locate the Imaging Devices section and expand it.
- Right-click on your webcam and select Update Driver.
- Choose Search automatically for updated driver software and follow the instructions.
- Restart your computer to apply changes.
3. Adjust Camera Settings in Applications
Sometimes, the issue lies within specific applications’ settings rather than the webcam itself.
Steps to Check and Adjust Settings:
- Open the application where you’re experiencing issues (e.g., Zoom, Skype).
- Go to the settings or preferences menu.
- Navigate to the video settings section.
- Ensure that the correct webcam is selected.
- Adjust resolution and video quality settings for optimal performance.
4. Allow Camera Access in Privacy Settings
Operating systems have privacy settings that can block applications from accessing your webcam. Ensuring that the necessary permissions are enabled can resolve access issues.
Steps to Update Privacy Settings:
- Open the Settings menu on your computer.
- Select Privacy or Security & Privacy.
- Navigate to the Camera section.
- Ensure that access is enabled for your webcam and the applications you use.
5. Check for Software Conflicts
Multiple applications or background processes can sometimes create conflicts that affect webcam performance. Identifying and resolving these conflicts is crucial.
Steps to Resolve Software Conflicts:
- Close all unnecessary applications that might use the webcam.
- Open the Task Manager and end task for any suspicious or redundant processes.
- Restart the webcam application to see if the issue is resolved.
6. Perform System and Software Updates
Sometimes, the operating system and installed software require updates to maintain compatibility with the latest hardware components.
Steps to Update System and Software:
- Open the Settings menu.
- Go to Update & Security.
- Check for system updates and install them if available.
- Update the software applications that use the webcam.
7. Compatibility with Video Conferencing Platforms
If you encounter issues on specific video conferencing platforms, consider the platform-specific solutions.
Major Platforms and Troubleshooting Tips:
- Zoom: Ensure the latest version is installed. Restart the application after updating your webcam settings.
- Microsoft Teams: Clear the cache and sign out/in again to reset settings.
- Skype: Verify that the Skype application is not blocked by firewall settings.
8. Run Webcam Troubleshooting Tools
Many operating systems offer built-in troubleshooting tools that can automatically identify and fix webcam issues.
Steps to Use Troubleshooting Tools:
- Navigate to the Settings menu.
- Select Update & Security.
- Click on Troubleshoot.
- Find and run the Hardware and Devices troubleshooter.
- Follow the prompts and apply recommended fixes.
Conclusion
Addressing webcam compatibility issues promptly ensures smooth and uninterrupted video communication experiences. By following these steps, you can diagnose and resolve most webcam problems, improving the reliability and quality of your video calls. If issues persist, consulting the webcam manufacturer’s support team might be necessary for further guidance.